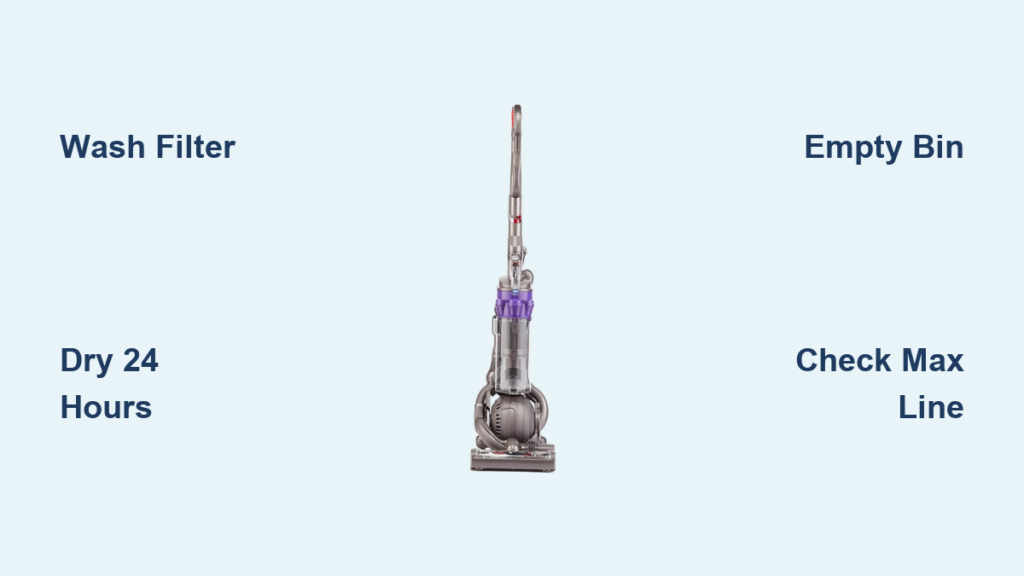
Your Dyson DC25 hose seems straightforward, but weak suction during above-floor cleaning often stems from overlooked maintenance—not the hose itself. When you struggle to clean curtains or car interiors with reduced airflow, it’s usually your machine’s filter or bin sabotaging performance. This guide reveals exactly how to maintain your DC25 for powerful hose operation, using only Dyson’s official recommendations. You’ll learn the precise filter-washing technique and bin-emptying rule that directly impact hose suction, plus where to find critical attachment instructions—no guesswork required.
Why Your DC25 Hose Suction Fails Without Proper Filter Care
That frustrating drop in hose suction while cleaning upholstery or stairs almost always traces back to your post-filter. This critical component (Dyson part #916188-06) traps fine dust before air exits the machine. When clogged, it chokes airflow through the entire system—including your hose. Unlike disposable filters, your DC25’s post-filter requires specific washing to maintain cyclone efficiency. Dyson’s engineering relies on this filter being completely clean and dry; even slight moisture or residue creates suction loss you’ll notice immediately in the hose. Ignoring this single maintenance step turns your powerful above-floor cleaner into a weak blower, no matter how perfectly you’ve attached the hose.
How Often to Wash Your DC25 Post-Filter for Optimal Hose Performance
Dyson mandates washing this filter every 3-6 months depending on usage, but hose suction problems demand immediate action. If you detect reduced airflow while using stairs or furniture tools, stop and inspect the filter. Hold it up to light—visible dust buildup or discoloration means it’s starving your hose of power. Don’t wait for scheduled maintenance when hose performance drops; address it now to prevent motor strain. Remember: a dirty filter forces the machine to work harder, accelerating wear on all components connected to the hose system.
Exact Filter Washing Steps That Restore Hose Suction
Follow Dyson’s precise protocol to revive hose power without damaging the filter:
1. Rinse under cold running water until outflow becomes completely clear—no detergents or soaps allowed
2. Gently squeeze out excess moisture (never twist or wring)
3. Air-dry horizontally on its side for minimum 24 hours in a warm, dry location
4. Confirm complete dryness before reinstallation—damp filters cause immediate suction loss
Critical mistake to avoid: Skipping the full 24-hour dry time. Installing a damp filter creates condensation in the hose system, causing musty odors and temporary suction failure. Your hose won’t perform until the filter is bone-dry—no exceptions.
Preventing Hose Suction Loss: The Bin Emptying Rule You’re Ignoring

Overfilling the bin is the #1 cause of mysterious hose suction drops. When debris crosses the MAX fill line, it blocks airflow pathways feeding your hose. Dyson explicitly states: empty the bin before it reaches the MAX marker. Waiting until it’s “almost full” creates compaction that restricts airflow to the hose port. This isn’t about convenience—it’s physics. A 90% full bin reduces cyclone separation efficiency by up to 40%, directly weakening hose suction during above-floor tasks. Check the bin after every major cleaning session, especially before using the hose for car interiors or high-pile rugs where maximum airflow matters.
Quick Bin Check Procedure Before Hose Use
Save time during cleaning sessions with this pre-hose checklist:
– Visual inspection: Hold bin at eye level—debris should sit clearly below the MAX line
– Shake test: Gently shake bin; if dust clouds form, empty immediately
– Post-empty reset: Always click bin fully back into place—partial seating creates air leaks
Pro tip: Empty the bin after vacuuming heavy debris like pet hair or construction dust. These materials compact faster, creating false “empty” appearances while actually blocking airflow to the hose.
Diagnosing Weak Hose Suction: Filter and Bin Troubleshooting Flow
When your DC25 hose loses power during use, skip disassembly and follow this Dyson-approved diagnosis sequence:
“No Suction in Hose” Decision Tree
- Check bin level first: If past MAX line, empty and reseat
- Verify filter dryness: Remove and inspect—if cool/moist, dry 24+ hours
- Re-test without accessories: Attach hose directly to machine (no wand/tools)
- Still weak? Proceed to official troubleshooting
What to look for: If suction returns when bypassing the wand but fails with attachments, the blockage is in your tools—not the hose. Never insert sharp objects into hose ports; Dyson’s design requires specific cleaning methods detailed in their manual.
When Hose Suction Problems Require Professional Help
Persistent weak suction after filter/bin maintenance indicates deeper issues requiring Dyson Experts:
– Continuous loss of power even with clean/dry filter and empty bin
– Burning smells or unusual motor noises during hose use
– Visible cracks in hose casing affecting structural integrity
Dyson’s repair service covers internal components with a 12-month parts/labor guarantee. Attempting DIY fixes on sealed systems often voids coverage—contact them before disassembling.
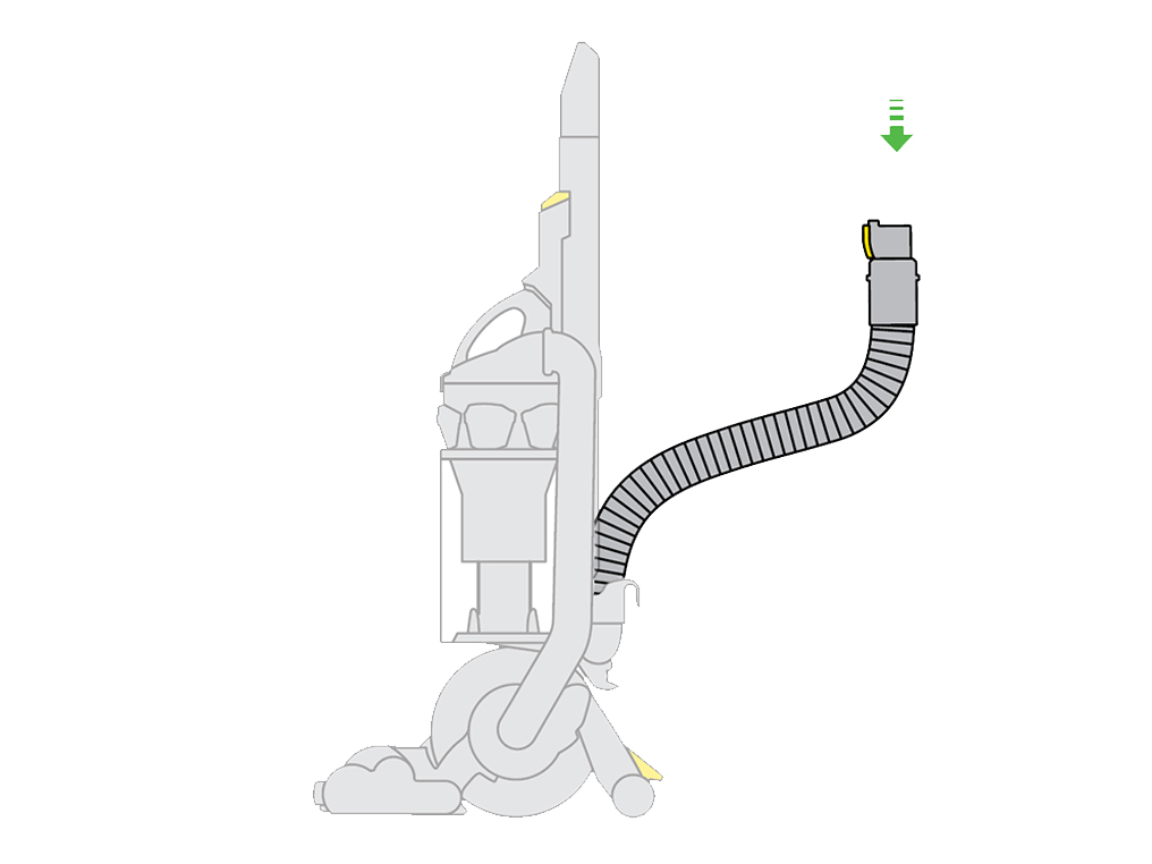
Locating Official DC25 Hose Attachment Instructions
Dyson provides precise hose usage guidance in their free downloadable user manual (1.90 MB PDF). This document contains:
– Exact hose docking/undocking sequences for the storage port
– Compatible accessory pairings for stairs, upholstery, and crevices
– Wand connection specifications to prevent air leaks
– Storage protocols to avoid kinks and damage
Don’t guess: The manual details pressure points for secure connections—forcing parts causes leaks. Download the official guide before your next hose use session to avoid preventable errors. Bookmark Dyson’s support page for instant access during cleaning emergencies.
Essential Post-Hose Cleaning Routine for Longevity
What you do after using the hose determines its lifespan. Follow this Dyson-endorsed cooldown process:
3-Step Hose Care Protocol
- Detach completely: Remove hose from machine and all tools
- Wipe exterior: Use damp microfiber cloth on entire length (never submerge)
- Dry-dock properly: Click hose straight back into storage port—no twisting
Critical warning: Never store the hose while damp or coiled tightly. Moisture trapped in bends breeds mold that clogs internal pathways. Always extend it fully during drying periods before storage.
When to Replace Your DC25 Hose Components

Hose performance degrades silently over time. Replace these parts when you notice:
– Post-filter: Reduced suction after proper washing/drying (part #916188-06)
– Hose assembly: Visible cracks, persistent kinks, or stiffness during extension
– Accessories: Worn seals on turbine heads causing air leaks
Dyson’s genuine parts ensure diameter consistency—third-party hoses create airflow mismatches. Check their spares database for current pricing and compatibility before ordering.
Final Tip: Your DC25 hose performs best when treated as part of an integrated system—not a standalone tool. Master the filter washing ritual and MAX-line bin discipline outlined here, and you’ll maintain showroom-level suction for stairs, furniture, and tight spaces. For immediate assistance with hose attachment specifics, download the official manual or contact Dyson Experts via live chat (7am-12am CST) or phone (866-693-9766). Remember: strong hose power starts with what happens before you even connect it—clean filters and timely bin emptying are non-negotiable for professional results.

