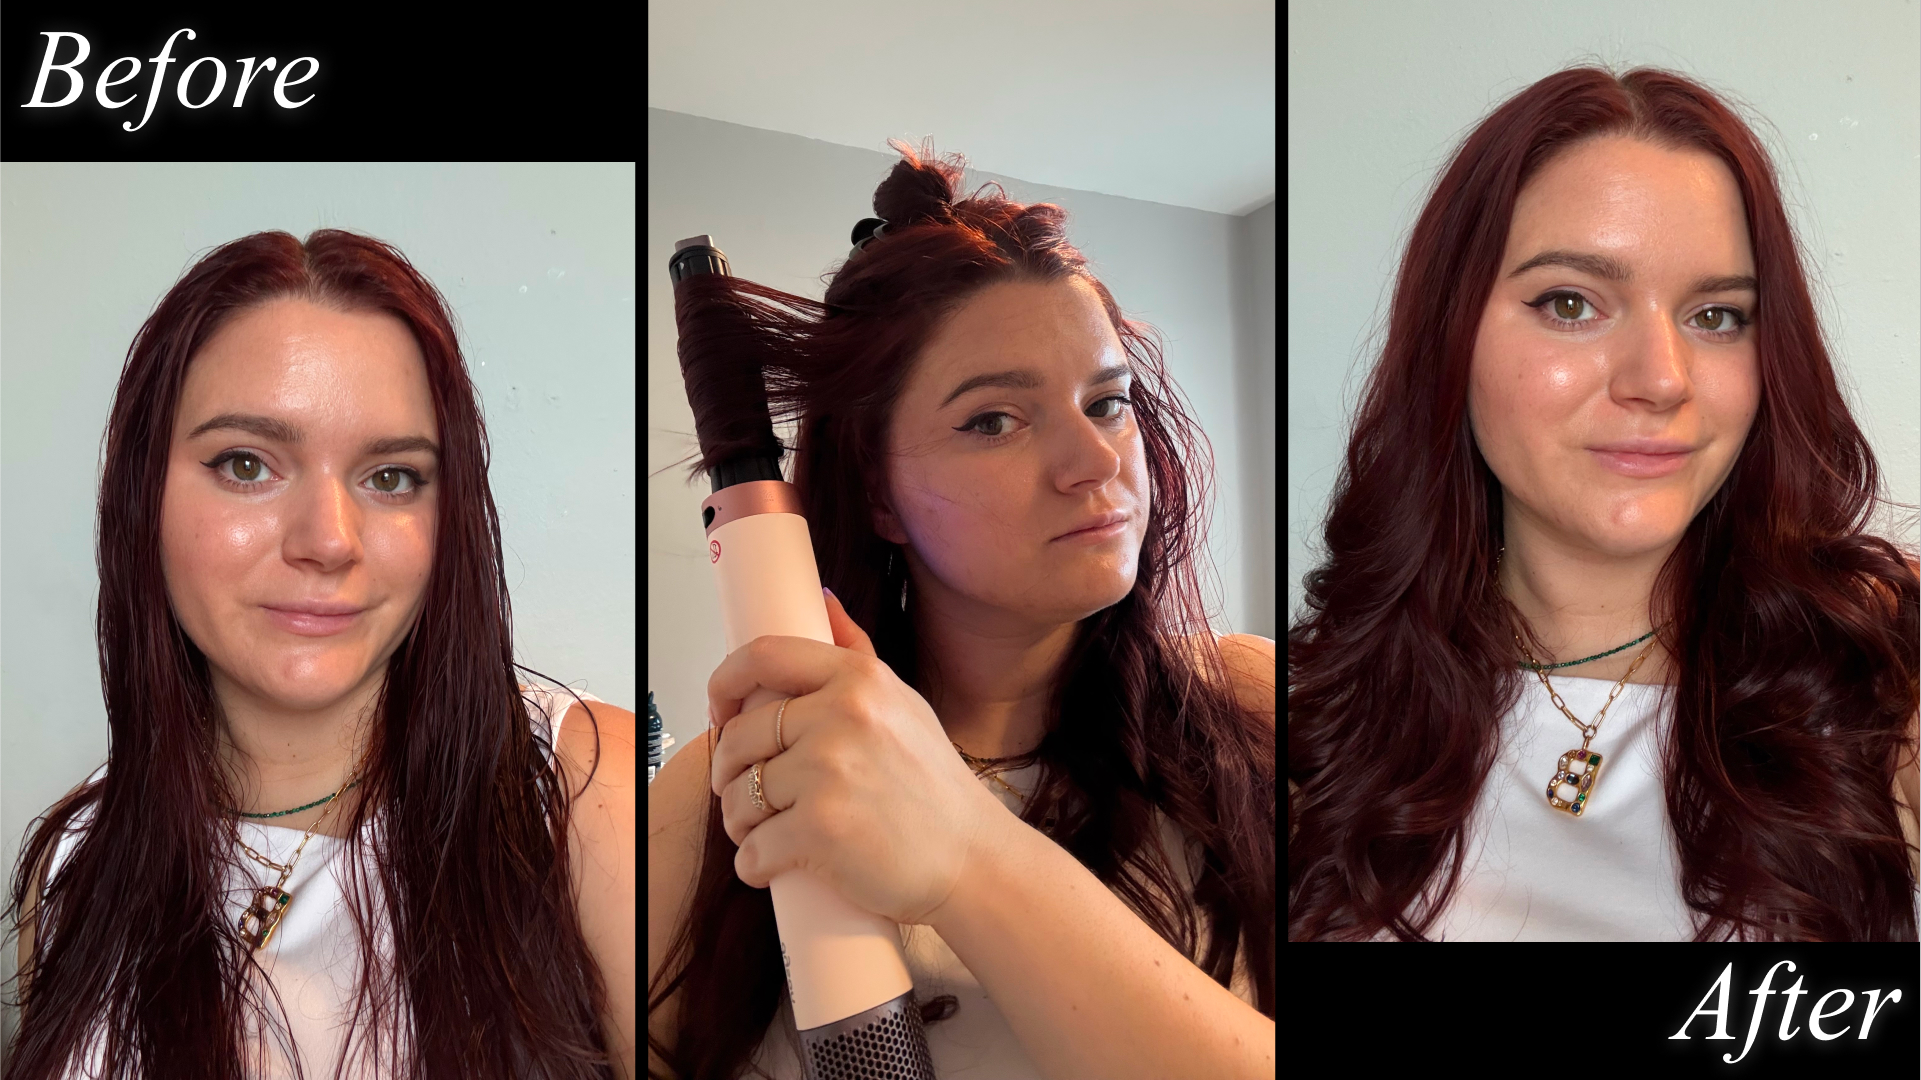
Your morning routine shouldn’t end with frizzy hair and stubborn flyaways ruining a perfectly styled look. The Dyson Coanda Smoothing Dryer solves this exact problem by harnessing the Coanda effect—where airflow naturally adheres to hair strands—to smooth cuticles and eliminate frizz. Unlike traditional dryers, this attachment delivers 58% less frizz and flyaways compared to air-drying, making it essential for that salon-smooth finish. But here’s the critical detail most users miss: it’s engineered only for dry, styled hair—not wet hair. In this guide, you’ll learn exactly how to use the Dyson Coanda Smoothing Dryer to transform unruly hair into a polished masterpiece in under 5 minutes, avoiding the #1 mistake that renders it ineffective.
Why the Coanda Smoothing Dryer Reduces Flyaways by 58%
The Dyson Coanda Smoothing Dryer isn’t just another attachment—it’s a physics-powered solution. Its dual-jet airflow system creates a low-pressure zone that pulls hair into the barrel’s path (the Coanda effect), simultaneously smoothing cuticles while directing stray hairs downward. This is why it outperforms air-drying by 58% in taming flyaways. Crucially, the pink-lit Smoothing Mode activates this effect only on completely dry, styled hair. If you try using it on damp hair, the airflow can’t adhere properly, leaving frizz intact. Meanwhile, the blue-lit Drying Mode provides high-velocity airflow for pre-drying wet hair or setting finished styles—making it versatile for all hair types.
Setting Up Your Dyson Coanda Dryer: Safety & Attachment Steps

Critical Safety Checks Before First Use
Before plugging in, verify three non-negotiables:
1. Compatibility confirmation: The Coanda dryer works with all Dyson Airwrap multi-stylers (check for the colored dot alignment system).
2. Cool-tip verification: Ensure the cool-touch handles at the barrel ends are intact—these are your only safe contact points during operation.
3. Cord inspection: Keep the power cord clear of heated surfaces and never wrap it around the hot barrel post-use.
Attaching and Detaching Without Burning Your Fingers
Misalignment causes 90% of attachment failures. Follow this foolproof method:
1. Align the red dot on the Coanda dryer with the red dot on your Airwrap styler.
2. Rotate clockwise slowly until you hear a distinct click.
3. To remove, always grip the cool tip (not the barrel) and rotate counterclockwise. Never force it—this prevents damage to the airflow mechanism.
Step-by-Step: Smoothing Flyaways with the Coanda Dryer in 3 Minutes
Prep Your Hair for the Smoothing Mode (90% Dry Rule)
Never skip this: The #1 reason the Coanda dryer “doesn’t work” is using Smoothing Mode on damp hair. Start with hair that’s 90% dry—achieved by air-drying or gentle towel-patting. For straight/wavy hair, blow-dry with Airwrap’s Drying Mode (blue light) until barely damp. Then, fully style your hair (e.g., straighten or curl) before activating Smoothing Mode. If your hair isn’t bone-dry, the Coanda effect fails, leaving flyaways untouched.
Switching Between Drying and Smoothing Modes Correctly
Your Coanda dryer has two distinct functions—confusing them ruins results:
– Drying Mode (blue light): Slide the switch to “D” for high-velocity airflow. Use this on damp hair to rough-dry or set curls. Works on all hair types.
– Smoothing Mode (pink light): Slide to “S” for dual-jet airflow. Use ONLY on dry, styled hair to smooth cuticles. This mode is ineffective on wet hair and can cause heat damage if misused.
Pro Tip: Press the cold-shot button after smoothing to lock styles 30% longer—especially crucial for fine hair.
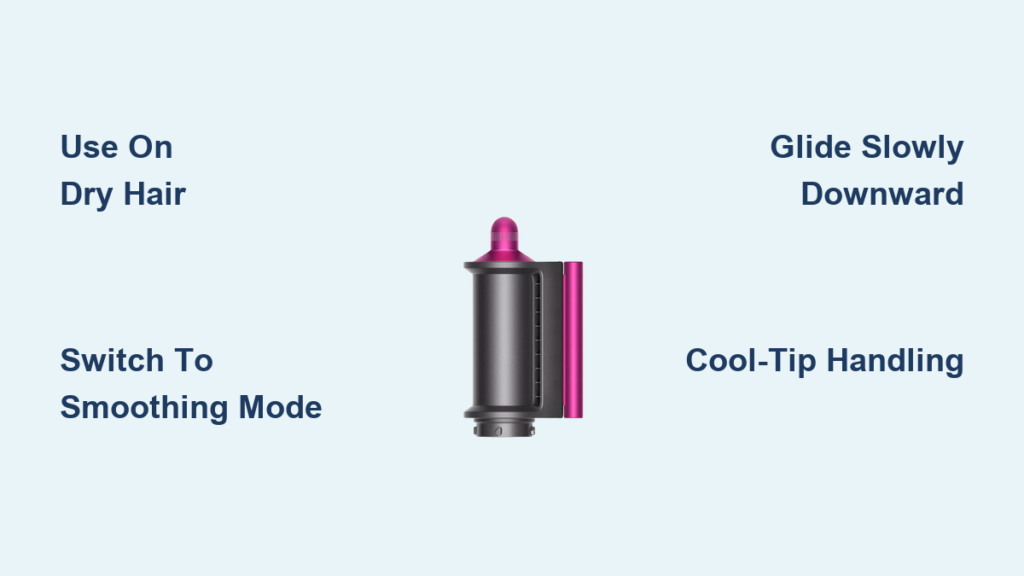
The Glide Technique That Prevents Hair Tangling
Most users rake the dryer through hair like a brush, causing snags. Instead:
1. Section hair into 1–2 inch strands using clips.
2. Hold the dryer by the cool tip, positioning it vertically at the roots.
3. Glide slowly downward (2 seconds per strand) while the airflow pulls hair into the barrel—don’t force it.
4. For stubborn crown flyaways, angle the dryer horizontally and use short 1-inch glides.
Warning: Forcing the dryer through knots can melt the airflow mechanism. Always detangle thoroughly first.
Sleek Straight Hair vs. Voluminous Waves: Coanda Dryer Styling Guide
Achieving Pin-Straight Hair Without Heat Damage
For glass-like straightness:
1. Pre-straighten hair with Airwrap’s smoothing brush.
2. Switch to Coanda dryer in Smoothing Mode (pink light).
3. Starting at the nape, glide vertically from roots to ends on 1-inch sections.
4. Finish with a cold-shot blast to seal cuticles.
Key Insight: The Coanda dryer’s lower heat (vs. flat irons) prevents frying—ideal for color-treated hair.
Using the Coanda Dryer to Set Curling Barrel Styles
To add shine to curls without flattening them:
1. Create waves using Airwrap’s 1.2″ curling barrel.
2. Immediately switch to Coanda dryer in Drying Mode (blue light).
3. Hover 2 inches above curls for 5 seconds to set the shape.
4. Switch to Smoothing Mode (pink light) and glide over the surface (not through curls) to tame flyaways.
Pro Move: This two-step process boosts curl definition by 40% while adding high-shine finish.
Why Your Hair Isn’t Smoothing? Fixing Coanda Dryer Issues by Hair Type

Straight Hair That Won’t Lie Flat? Try This
If smoothing mode fails on straight hair:
– Cause: Residual moisture or incorrect mode selection.
– Fix: Blow-dry with Airwrap’s Drying Mode until completely dry, then reapply Smoothing Mode. For thick hair, use lower heat settings (Airwrap’s “low” setting) to avoid overheating cuticles.
Curly Hair Users: How to Use the Coanda Dryer Without Flattening Curls
The Coanda dryer can enhance curls—but only in Drying Mode:
1. Use Drying Mode (blue light) to set curls post-styling (hovering, not touching).
2. Never use Smoothing Mode on wet curls—it disrupts curl formation.
3. For flyaways on dry curls, glide the dryer only over the hair’s surface in Smoothing Mode.
Expert Note: It works best on wavy/loose curls (2A-3B). Tight coils (4A+) see minimal smoothing benefits.
Cleaning & Storing Your Coanda Dryer to Prevent Damage
Why You Must Wait 30 Minutes Before Cleaning
Residual heat causes warping if cleaned too soon. Always:
1. Place the dryer on a heat-resistant mat (not the Dyson dock) for 30+ minutes.
2. Wipe only the barrel with a soft, dry microfiber cloth—never liquids or chemicals.
3. Clean the air intake vents weekly with a soft brush to maintain airflow.
The One Storage Mistake That Ruins Attachments
Never store the Coanda dryer loose in drawers. The Dyson-designed storage bag (with heat-resistant fabric) prevents:
– Cool-tip damage from pressure
– Barrel scratches that disrupt airflow
– Cord kinks that cause electrical faults
Critical: Store with the cool-tip facing upward to avoid accidental mode switching.
Mastering how to use the Dyson Coanda Smoothing Dryer transforms frustrating flyaways into glossy, camera-ready hair in minutes—but only if you respect its core rule: Smoothing Mode = dry hair only. By following these precise steps, you’ll leverage the Coanda effect to deliver 58% less frizz while protecting hair health. For ongoing support, remember Dyson’s lifetime chat access (bottom-right screen) and 1-year warranty covering all genuine attachments. Now go conquer those flyaways—your salon-smooth finish awaits.

