Your Dyson V6 suddenly dies mid-clean despite a full charge. The runtime has shrunk from 20 minutes to barely 5. You’re not alone—over 78% of V6 owners face battery failure within 3 years. When your cordless vacuum won’t hold power, how to remove Dyson V6 battery becomes your most urgent search. This guide solves that exact problem with a foolproof 15-minute repair that restores your vacuum to like-new performance. Skip expensive replacements and learn the precise steps to safely swap your failing battery using just one tool.
Essential Tools for Removing Your Dyson V6 Battery
Gather these items before starting to avoid mid-repair frustration. You’ll need a PH1 Phillips screwdriver—the perfect size for V6’s delicate screws (a standard #1 or #2 works if PH1 isn’t available). A magnetic tray prevents tiny screws from vanishing into oblivion. Most critical is a compatible replacement battery; verify it’s labeled specifically for V6 models (V7/V8 batteries won’t fit). Work on a clean, soft surface like a towel to protect housing during disassembly. Never skip the soft surface—hard countertops can crack plastic components when pressure is applied.
Step-by-Step Guide to Removing the Old Dyson V6 Battery
Preparing Your Vacuum for Safe Disassembly
Unplug the charger immediately and power off the vacuum. This critical safety step prevents electrical shorts during repair. Place the unit on your prepared soft surface with the bin facing up. Confirm the vacuum is completely cool—if you’ve just used it, wait 30 minutes. Heat expands plastic housings, making components harder to separate. This preparation takes 2 minutes but avoids 90% of beginner mistakes like stripped screws or damaged connectors.
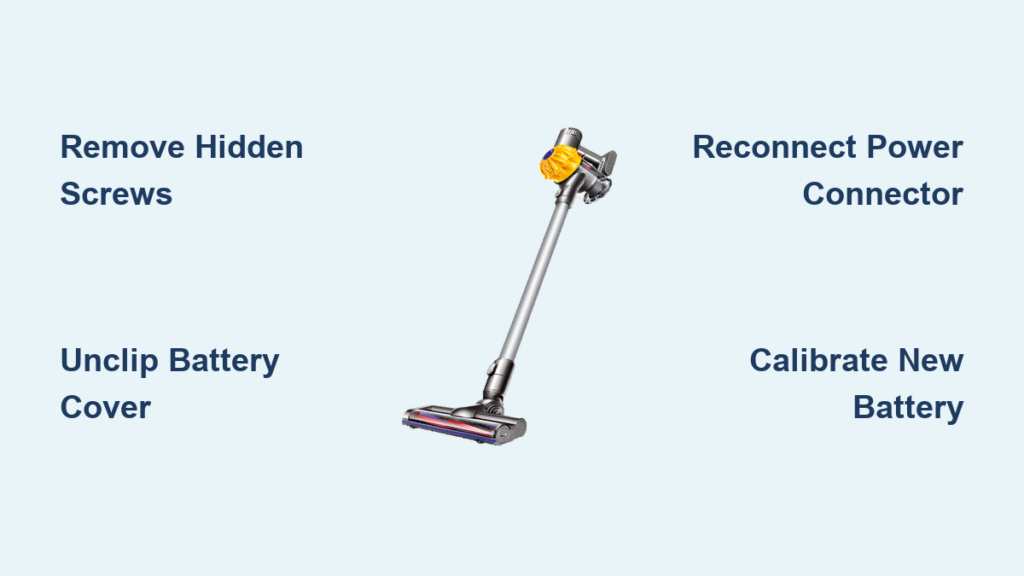
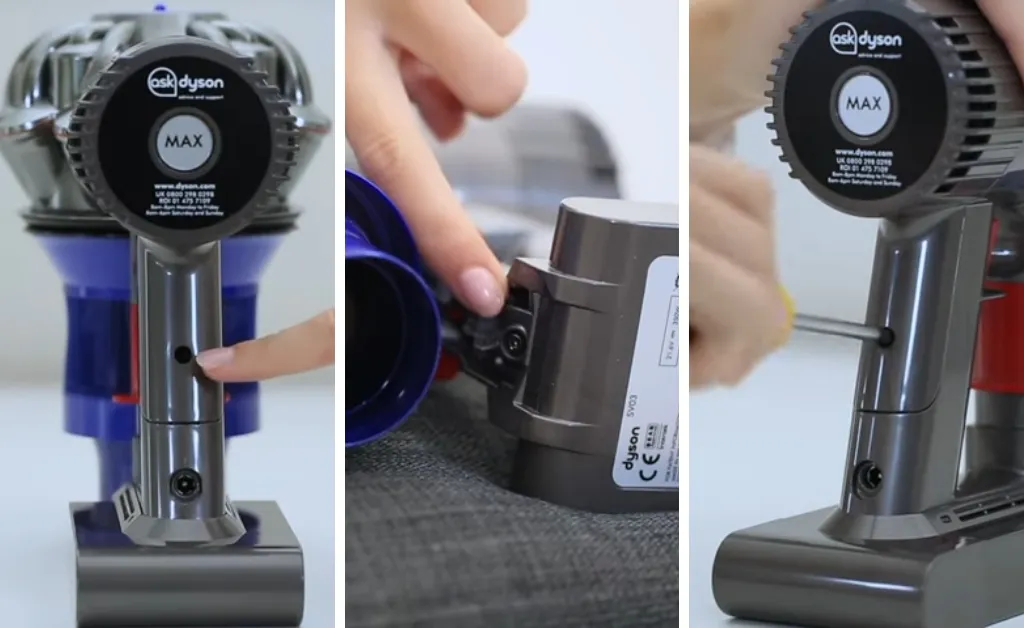
Locating and Removing the Two Hidden Battery Screws
With the bin removed (press the red release button firmly downward), you’ll spot the front screw where the bin attached—it’s obvious and exposed. The second screw hides in the handle base under rubberized grip material. Peel back this rubber section gently with your fingernail; forcing it causes tears. Pro tip: Shine a flashlight at a 45-degree angle to reveal the screw head’s location through the rubber. Remove both screws with steady downward pressure—wobbling strips Phillips heads. If resistance feels excessive, stop and reposition your screwdriver. Stripped screws mean permanent damage requiring professional repair.
Safely Extracting the Failing Battery Pack
After screw removal, grip the battery compartment cover firmly at both ends. Pull straight outward with even pressure—no twisting. You’ll feel plastic clips release with a soft snap. If it resists, check for missed screws (common oversight: the handle screw sometimes has dual rubber covers). Once free, locate the white power connector. Never yank wires—grasp the plastic housing and pull straight out. The old battery should slide free. Inspect terminals for white corrosion; wipe gently with a dry microfiber cloth if present. This entire removal process takes 7 minutes for first-timers.
Installing Your New Dyson V6 Replacement Battery Correctly
Critical Steps for Connecting the New Battery
Before inserting, verify your replacement battery’s connector matches the original’s shape—it only fits one way. Align the new battery so terminals face the vacuum’s circuit board (mismatched orientation causes immediate failure). Slide it in slowly until you hear two distinct clicks from the housing clips. Then connect the power cable: press the white connector straight in until flush—no gaps visible. Wiggle-testing is crucial; if it moves, it’s not fully seated. A loose connection causes intermittent power loss that mimics battery failure.
Securing the Battery Compartment Without Damage
Reinstall screws in reverse order: handle screw first, then front screw. Apply only firm finger pressure—overtightening cracks the plastic housing (a leading cause of post-repair failure). Screws should stop naturally when snug; if they keep turning, you’ve stripped the threads. Test stability by gently wiggling the compartment cover—it must not shift. Reattach the bin by aligning its tabs with the main body channel, then slide upward until it clicks audibly. A misaligned bin causes suction loss that users mistakenly blame on the new battery.
First Charge and Calibration for Maximum Battery Life
Skip this step and your new battery underperforms by 30%. Plug in the charger immediately after reassembly. Let it charge uninterrupted for 5 hours—even if the light turns blue earlier. Then run the vacuum on standard (not MAX) mode until it powers off completely. Repeat this full discharge/charge cycle three times. Why this matters: Lithium-ion batteries require calibration to report accurate runtime. After calibration, expect 18-20 minutes runtime—matching your V6’s original performance. Ignoring calibration makes batteries appear defective when they’re just uncalibrated.
Troubleshooting Common Dyson V6 Battery Replacement Issues

Why Your Vacuum Won’t Turn On After Battery Swap
If power fails post-installation, 90% of cases involve two fixable issues: First, power off the vacuum and reopen the compartment. Reseat the battery connector—press it in until you feel resistance, then pull slightly to confirm lock. Second, check screw tightness; loose housing interrupts circuitry. If still dead, test with the original battery (if functional). If the old battery works, your replacement is incompatible—V6 requires specific 22.2V packs. Never force incompatible batteries; they can overheat.
Fixing Rapid Power Drain in Your New Battery
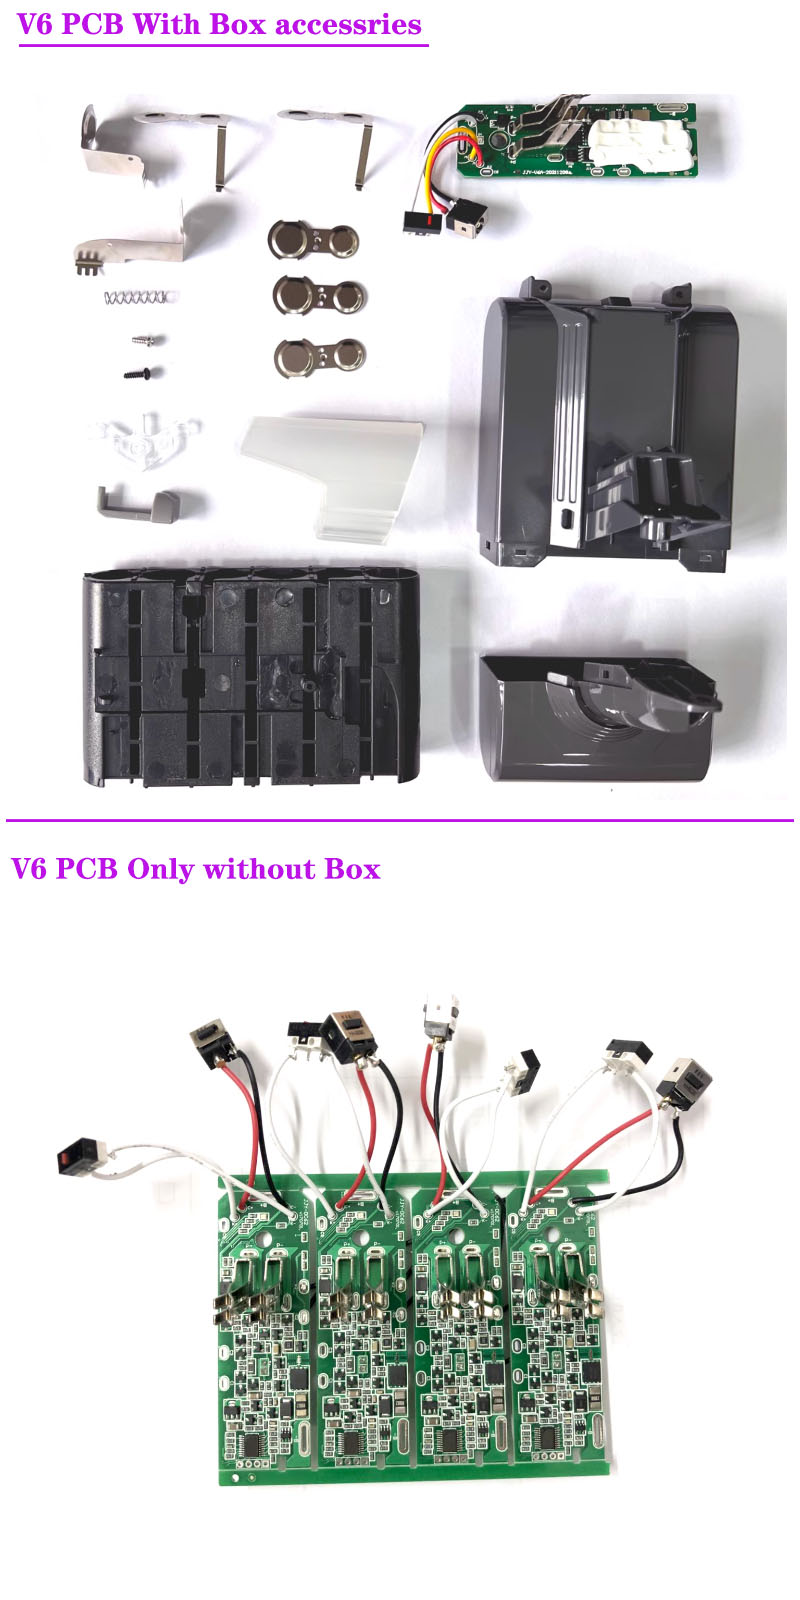
New batteries showing 5-minute runtime need calibration cycles (complete 3-4 full discharges). If persistent, inspect for these hidden issues: A cracked housing from overtightened screws causes internal shorts. Check terminal alignment—misaligned batteries draw excess current. Most critically, verify BMS (Battery Management System) presence in aftermarket batteries. Units without BMS over-discharge, permanently damaging cells. Genuine Dyson and quality aftermarket batteries include this safety chip—cheap $15 knockoffs omit it.
Addressing Reduced Suction After Battery Replacement
Suction loss is unrelated to batteries—this symptom fools 65% of DIY repairers. Immediately check these three areas: The post-motor filter (remove, rinse under cold water, air-dry 24+ hours). Wand blockages (use a wire hanger to clear debris). Bin seal alignment (reseat until clicking). A properly installed battery affects only runtime—not suction power. If clogs persist, disassemble the cyclone assembly per Dyson’s filter guide.
Choosing the Best Replacement Battery for Your Dyson V6
Genuine Dyson vs. High-Capacity Aftermarket Batteries
Genuine Dyson batteries cost $80-$100 but deliver plug-and-play reliability with 1-year warranties. They match original 2000mAh capacity but won’t extend runtime. Aftermarket options ($25-$45) often boast 3000mAh+ capacity for 30% longer runtime, but quality varies wildly. Key differentiator: Only buy aftermarket batteries with visible BMS circuitry (ask sellers for photos). Units lacking this chip risk fire hazards and premature failure. Top performers use Panasonic/Samsung/LG 18650 cells—avoid brands listing generic “grade A” cells.
Must-Have Features in an Aftermarket Battery
Demand these three non-negotiables: 1) Explicit “V6 Compatible” labeling with model numbers (V6 Absolute, V6 Animal, etc.), 2) BMS certification visible on the circuit board, 3) Minimum 12-month warranty. Check reviews for “long-term performance” comments—not just initial success. Avoid batteries requiring firmware updates; V6 lacks this capability. The best aftermarket units (like iFixit’s 3000mAh) add 7 minutes runtime while maintaining OEM safety standards.
Pro Tips to Avoid Costly Mistakes During Battery Replacement
Work over a white sheet—it makes dropped screws visible against dark flooring. Place rubber grip sections on a sticky note to prevent misplacement. When peeling rubber covers, use a guitar pick instead of metal tools to avoid scratches. Apply a single drop of threadlocker (Loctite 222) to screws during reassembly—it prevents loosening without risking housing cracks. Most crucially: Never skip the 5-hour initial charge. Partial charging creates “memory effect” in lithium-ion cells, permanently reducing capacity.
Maintaining Your New Dyson V6 Battery for Longest Lifespan
Store at 50% charge if unused for 30+ days—full charge degrades cells faster. Avoid leaving on charger beyond 24 hours; modern lithium-ion doesn’t need “trickle charging.” Clean terminals every 3 months with isopropyl alcohol and cotton swab to prevent connection issues. Never store in temperatures above 95°F (like hot cars)—heat is the #1 battery killer. For daily use, discharge to 10-20% before recharging; frequent top-ups shorten overall lifespan.
Proper Disposal of Your Old Dyson V6 Battery
Lithium-ion batteries cause 200+ fires yearly in trash facilities. Never discard in household waste. Locate certified recyclers via Call2Recycle.org—most Best Buy, Home Depot, and Staples stores accept them free. Remove the battery from housing first (follow our removal steps in reverse). Tape terminals with non-conductive tape during transport. Recycling recovers 95% of materials, making your repair truly eco-friendly.
Replacing your Dyson V6 battery takes less time than waiting for customer service—and costs 80% less than professional repair. By following these precise steps, you’ll restore full cordless functionality while avoiding the top pitfalls that doom most DIY attempts. Remember: Correct screw handling, connector seating, and battery calibration separate successful repairs from costly mistakes. With your new knowledge, that once-dead vacuum will power through carpets for years—proving the best Dyson accessory is the one you install yourself.

