That frustrating moment when your Dyson Gen5detect suddenly loses power mid-clean is all too familiar. You’re vacuuming what seems like ordinary debris, but the suction weakens, the LCD flashes warnings, and your floors stay dusty. This high-tech vacuum’s laser dust detection and powerful suction only work when every component is meticulously maintained. The core issue? Hair tangles, dust buildup, and damp filters silently sabotage performance. In this guide, you’ll discover exactly how to clean Dyson Gen5detect components to restore factory-level suction—no guesswork needed. I’ll walk you through monthly deep-cleaning rituals, sensor maintenance, and troubleshooting steps that prevent 90% of common failures, all verified against Dyson’s official maintenance protocols.
Why Monthly Cleaning Prevents Dyson Gen5detect Suction Failure
Skipping routine maintenance on your Gen5detect isn’t just inconvenient—it actively damages the vacuum’s intelligent systems. When hair and fibers accumulate around the brush roll, the laser dust detection system misreads debris levels, causing premature suction reduction. More critically, a damp pre-motor filter after improper cleaning creates internal moisture that corrodes sensors over time. You’ll notice performance drops when the LCD shows “Airway Obstructed” during routine carpet cleaning or when the machine struggles with fine dust like flour or drywall powder. The solution requires immediate attention to three critical zones before permanent damage occurs.
How to Clean the Dyson Gen5detect Bin in 90 Seconds
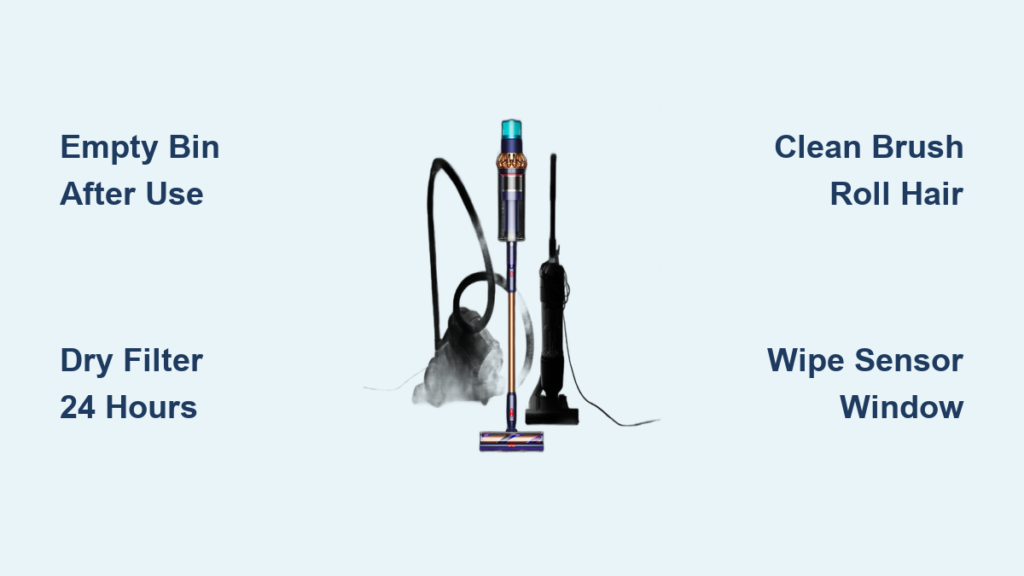
Empty the bin after every use—especially after vacuuming fine particles that pack tightly below the Max Fill Line. Press the red bin release button firmly while holding the cyclone assembly over your trash can. For deep cleaning:
– Remove the bin completely and rinse only with cold water (never soap or hot water)
– Rotate the bin under running water until all residue vanishes from corners
– Air-dry upright on a towel for 24 hours minimum—reinstalling a damp bin causes mold growth
– Pro tip: Place near a fan to accelerate drying while you clean other components
Fix Damp Filter Suction Loss in 24 Hours
A wet pre-motor filter is the #1 cause of unexplained suction failure. Locate this honeycomb-shaped filter at the base of the hand-holding area. Twist counter-clockwise to remove, then:
1. Rinse thoroughly under cold running water only (no detergents)
2. Shake vigorously to expel trapped water from filter cells
3. Place horizontally in a well-ventilated area (not in direct sunlight)
4. Wait full 24 hours before reinstalling—test dryness by squeezing; no moisture should appear
Never reinstall early: A single damp filter session can trigger “Filter” wrench alerts and permanent motor strain.
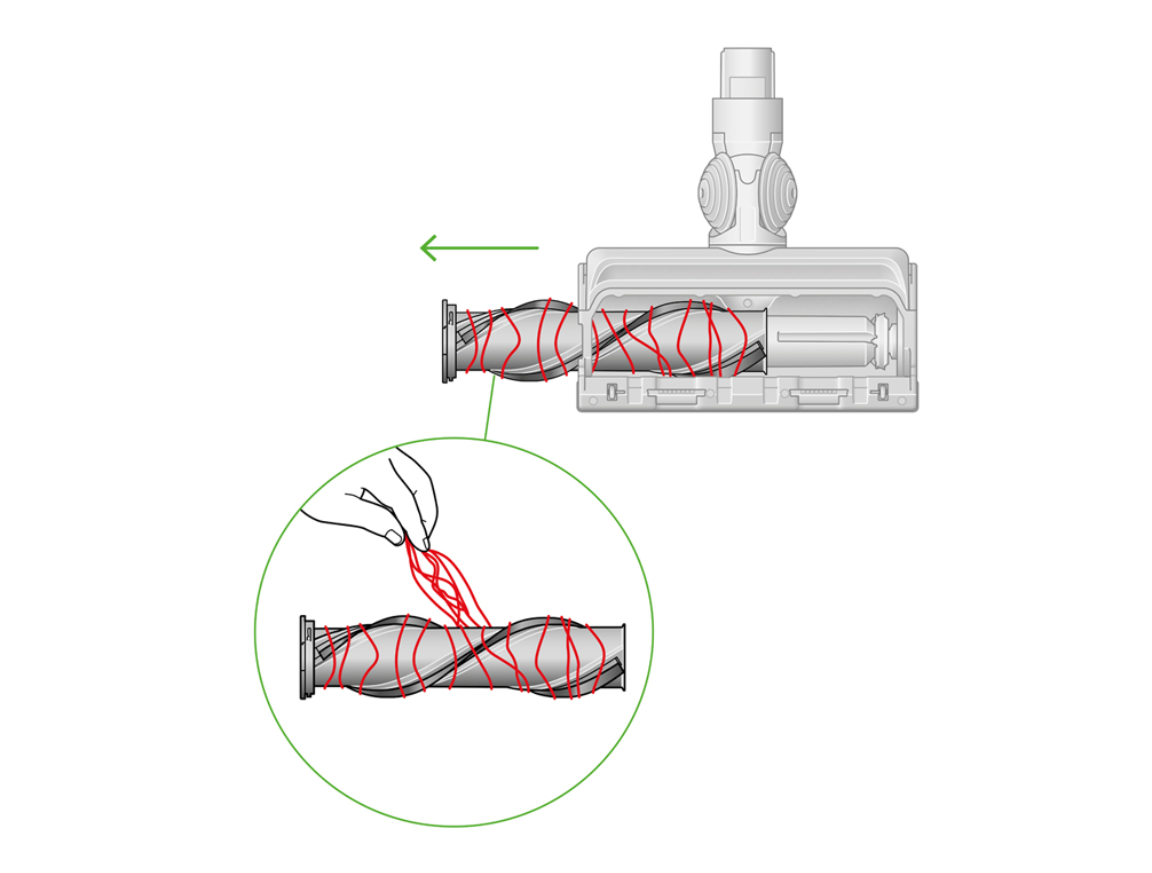
Unclog Dyson Gen5detect Brush Roll Hair Jams in 7 Minutes
When hair wraps around the brush bar, the vacuum loses floor contact and stops detecting dust. You’ll hear grinding noises and see reduced debris pickup on hard floors. This requires immediate disassembly before fibers damage bearings.
Remove Soleplate and Clear Brush Roll Debris
Power off the machine and lay it flat. Insert a coin into the red soleplate lock on the floorhead bottom. Turn counter-clockwise until the soleplate releases. Now:
– Cut hair tangles with seam ripper or small scissors (avoid pulling—this stretches bristles)
– Critical check: Inspect both brush roll ends for hidden threads wrapped around bearings
– Wipe the clear soleplate window with dry microfiber cloth to maintain laser accuracy
– Reattach by aligning notches and turning the lock clockwise until it clicks
Prevent Future Brush Roll Clogs
After every 3 cleaning sessions:
– Run fingers along brush bar to detect early hair accumulation
– Vacuum pet hair in short bursts to minimize wrapping
– Flip the floorhead weekly to clean the hidden rear intake port
Clear Wand and Hose Blockages Causing “Airway Obstructed” Alerts
When the LCD flashes “Airway Obstructed,” a blockage is choking suction. This typically occurs when vacuuming large debris like coins or paperclips. You’ll feel reduced airflow at the floorhead even with an empty bin.
Unblock the Wand in 3 Minutes
Detach the wand from both floorhead and main body. Hold it horizontally and:
– Shine a phone flashlight through one end to spot obstructions
– Use a long, flexible bottle brush to dislodge debris toward the nearest opening
– Never use sharp objects—they scratch interior surfaces causing future dust buildup
– Reassemble only when you confirm unobstructed light passage through the entire tube
Fix Hose Clogs Without Disassembly
For stubborn clogs:
1. Remove hose from wand and main body
2. Hold vertically with clog end down
3. Blow forcefully through the top opening (like blowing up a balloon)
4. Repeat until debris ejects—do not submerge in water as this damages internal coatings
Clean Dyson Gen5detect Sensors for Reliable Auto-Docking
Dirty sensors sabotage the Gen5detect’s signature features. You’ll experience failed auto-docking, inaccurate dust readings, and phantom “High Temperature” alerts. This occurs when dust cakes on the floorhead’s laser window or charging contacts.
Wipe Sensors Without Damaging Components
Power down the machine completely. Use only dry microfiber cloths—no liquids or compressed air:
– Gently rub the clear window on the floorhead bottom (where the laser emits)
– Clean gold charging contacts on the main body and dock with cotton swab
– Critical step: Wipe the small sensor port near the bin release button—this detects fill levels
– Test by placing on dock; contacts should reflect light evenly when clean
Restore Laser Dust Detection Accuracy
After cleaning sensors:
– Vacuum a known dust patch (e.g., spilled cereal)
– Verify the LCD shows “High Dust” with red particles
– If detection remains weak, repeat cleaning—residue on the laser window clouds readings
Maximize Dyson Gen5detect Battery Life Through Proper Storage
Storing your vacuum incorrectly causes irreversible battery damage. Leaving it docked at 100% charge for weeks degrades lithium-ion cells, while cold storage below 50°F triggers “Machine Temperature Too Low” errors.
Store Batteries at 40-50% Charge for Longevity
For vacations or seasonal storage:
1. Charge until battery indicator shows 40-50%
2. Power off the machine completely
3. Remove battery and store separately in a cool, dry place (60-80°F)
4. Recharge to 50% every 3 months if unused
Never store at 0% or 100%: This cuts total lifespan by up to 40% according to Dyson’s battery testing.
Decode Dyson Gen5detect LCD Alerts for Instant Fixes

Your vacuum’s screen provides specific diagnostic clues. Ignoring these wastes cleaning time and risks component failure. Master these critical alerts:
Fix “Filter” Wrench Icon in 10 Minutes
This indicates either a wet pre-motor filter or overdue HEPA replacement:
– Immediate action: Remove and inspect pre-motor filter—if damp, dry 24+ hours
– Annual check: Replace post-motor HEPA filter every 12 months (tap gently to test; musty smell means replacement needed)
– Test: After filter maintenance, vacuum fine dust to confirm “Filter” icon disappears
Stop Clicking Noises Before Motor Damage
A rhythmic clicking sound means:
– Foreign object jammed in brush roll ends (check after hair removal)
– Worn bearings from chronic hair tension—requires professional service
– Emergency step: Power off immediately—continued use cracks motor housing
Your Dyson Gen5detect Maintenance Schedule from Daily to Annual
Follow this exact timeline to avoid 95% of service issues. Deviating causes cumulative damage that voids warranties.
Critical Maintenance Timeline
| Task | Frequency | Time Required |
|---|---|---|
| Empty bin & wipe sensors | After every use | 60 seconds |
| Clear brush roll hair | Every 2 weeks | 7 minutes |
| Wash pre-motor filter | Monthly | 24 hours (drying) |
| Clean cyclone with dry cloth | Quarterly | 3 minutes |
| Replace HEPA filter | Annually | 2 minutes |
Pro shortcut: Set phone reminders for “Filter Wash Day” and “HEPA Swap” using your vacuum’s purchase date. Always use genuine Dyson filters—third-party versions trigger “Non-Dyson Filter Detected” errors.
Maintaining your Dyson Gen5detect isn’t about occasional deep cleans—it’s about strategic, component-specific care that preserves its $1,000+ sensor technology. By emptying the bin after each use, enforcing 24-hour filter drying discipline, and cleaning sensors monthly, you’ll prevent the suction loss and error alerts that plague neglected units. Remember: That “Airway Obstructed” alert is your machine’s cry for help—address blockages within 24 hours to avoid permanent motor strain. For persistent issues, contact Dyson Support directly at 1-866-277-9308 with your model number; their technicians can diagnose problems you might miss. Now that your vacuum breathes freely again, share this guide with fellow Gen5detect owners—because clean floors start with a clean machine.

