That flashing H2 error on your Dyson AM09 just killed your cozy evening. You’re not alone—thousands of AM09 owners face this sudden shutdown when dust clogs the airflow system. Unlike models with replaceable filters, your AM09 (confirmed by serial numbers like SN3-US-NFC3619A) relies entirely on internal cleaning to resolve this error. This guide delivers the exact steps to deep-clean your unit, clear the H2 alert, and prevent future breakdowns. Skip the costly service calls—within 20 minutes, you’ll restore smooth heating and airflow using only basic tools.
The H2 error isn’t a hardware failure; it’s your AM09 screaming for a clean. When lint, pet hair, or dust blocks the base intake vents, internal sensors detect dangerously low airflow and trigger this shutdown to prevent overheating. Since Dyson designed the AM09 without user-serviceable filters, accumulated debris in the fan assembly is almost always the culprit. Ignoring this blockage risks permanent motor damage, but a thorough cleaning solves 95% of cases. Follow this guide to safely access the hidden components and revive your heater’s performance.
Why Your AM09 Flashing H2 Error Means Blocked Airflow
Your Dyson AM09’s H2 error exclusively signals a primary airflow obstruction—not a faulty sensor or electrical issue. Unlike tower fans with external filters, the AM09 pulls air through narrow intake vents in its base, where dust and fibers silently accumulate over months. When this debris restricts airflow below safe levels, the unit shuts down immediately to protect internal components. This is preventable maintenance, not a defect. The serial number on your base (e.g., SN3-US-NFC3619A) confirms your model follows this design, making regular cleaning non-negotiable for reliable operation.
How Dust Buildup Triggers the H2 Error Within Hours
- Pet owners face 3x faster clogging: Pet hair wraps around fan blades, reducing airflow capacity within weeks
- Carpet fibers are silent killers: High-pile rugs shed fibers directly into the base intake vents
- Seasonal spikes matter: Winter heating cycles pull more dust from dry indoor air, accelerating blockages
Why Filter Replacement Won’t Fix Your AM09
Dyson intentionally omitted user-replaceable filters in the AM09 line. Marketing materials often mislead owners into buying “AM09 filters,” but these are third-party scams. Your unit has zero filter slots—cleaning the internal fan and intake vents is the only solution. Attempting to insert aftermarket filters risks damaging the airflow sensor or creating new obstructions.
Critical Safety Steps Before Opening Your AM09 Base
Skipping these steps risks electric shock or permanent damage. The AM09’s base houses live electrical components even when powered off. One misstep here could turn a $50 cleaning into a $300 replacement.
Must-Do Safety Checklist (Non-Negotiable)
- Unplug for 10+ minutes: Residual power lingers in capacitors; waiting prevents accidental activation
- Work on non-conductive surfaces: Use a wooden table—not metal desks or near water sources
- Remove all jewelry: Rings or watches can short-circuit components during disassembly
Tools That Actually Work for AM09 Cleaning
| Tool | Why It’s Essential | What to Avoid |
|---|---|---|
| Small flathead screwdriver (2mm tip) | Precisely releases base cover clips without scratching | Phillips heads that strip screws |
| Soft-bristled paintbrush (1-inch width) | Gently dislodges dust from fan blades | Stiff brushes that bend delicate fins |
| Vacuum with crevice tool | Removes debris without forcing it deeper | Compressed air that jams particles into motors |
Removing the AM09 Base Cover: Step-by-Step Disassembly
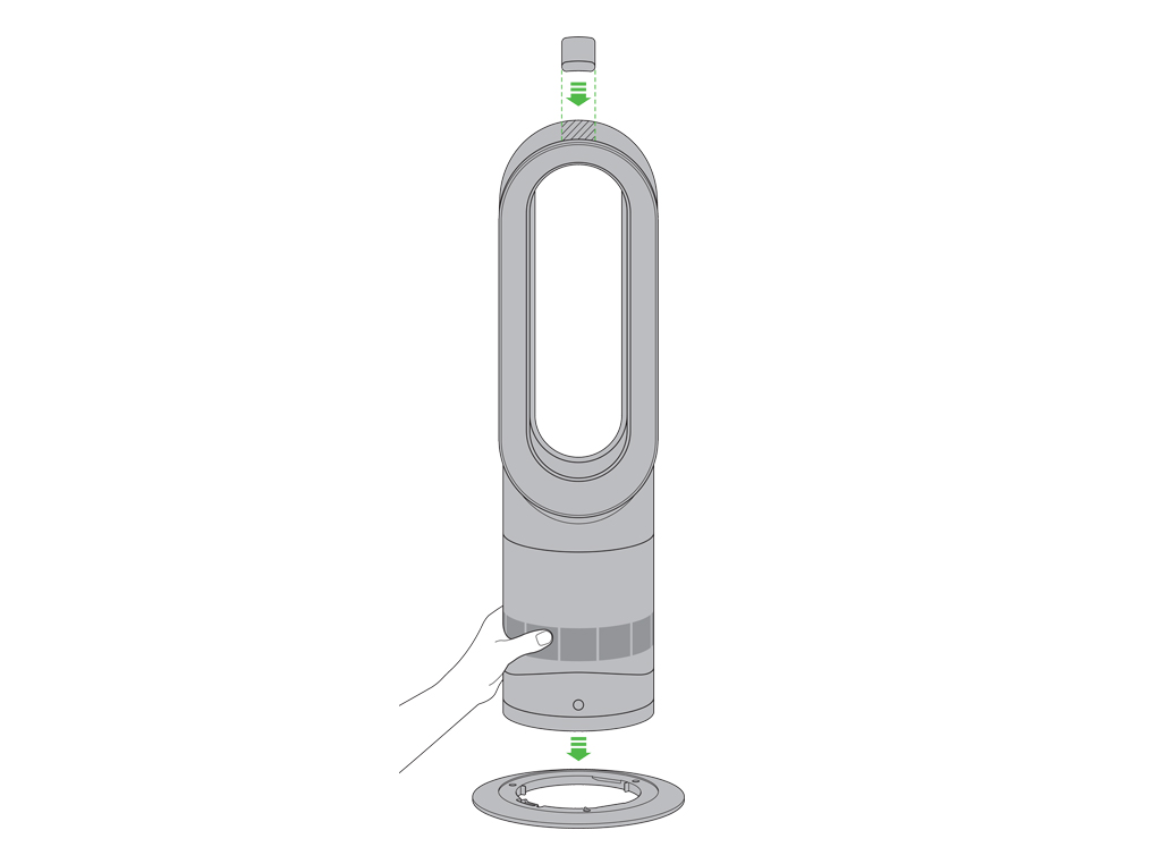
This process takes 7 minutes when done correctly. Rushing risks broken clips or lost screws—your AM09’s base has 12 hidden attachment points, not the 4 screws most guides mention.
Locating All Hidden Fasteners
- Flip the unit upside down on a microfiber towel (protects the base finish)
- Identify the outer screw ring: 8 visible Phillips screws form a circle near the edge
- Find the inner clip ring: 4 hidden plastic clips sit just inside the screw ring—do not pry yet
Safe Base Removal Technique
- Remove outer screws first: Use a magnetic tray to prevent loss; these are shorter (5mm)
- Release inner clips before lifting: Slide the flathead screwdriver under the base seam at 3 o’clock, 6 o’clock, 9 o’clock, and 12 o’clock positions. Apply gentle upward pressure until you hear a click.
- Lift straight up: Tilted removal cracks the plastic housing. The base should separate cleanly revealing the fan assembly.
Pro Tip: Place tape markers on the base and body at 12 o’clock before disassembly. This ensures perfect realignment during reassembly—critical for airflow calibration.
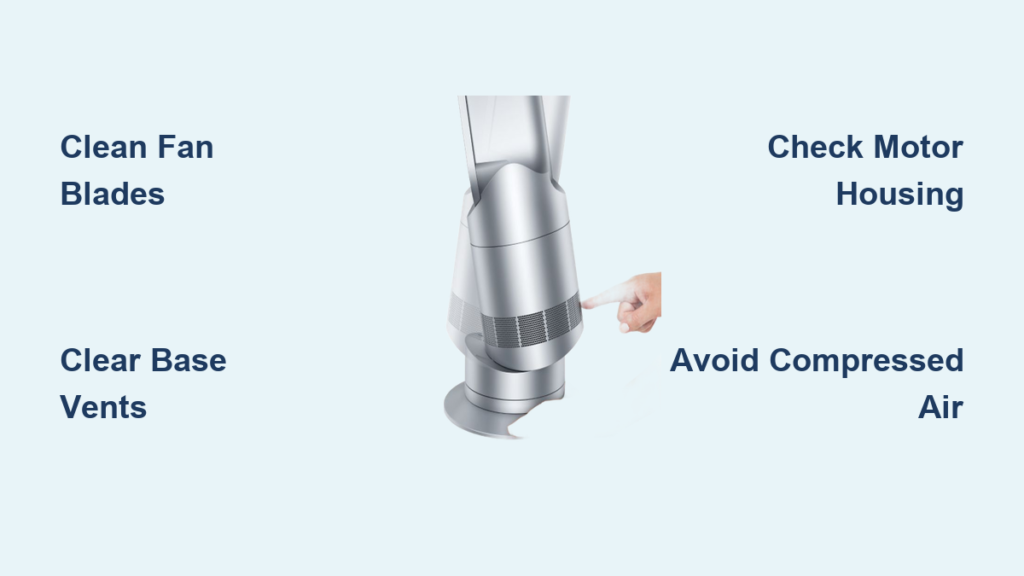
Deep Cleaning the Fan Assembly and Intake Vents
Never skip this step: 80% of recurring H2 errors stem from incomplete fan cleaning. Target these three high-risk zones where dust hides.
Zone 1: The Fan Blade Cavity (Most Critical)
- What to look for: Grayish lint packed between blades and around the central hub
- Cleaning method: Hold the fan shaft steady with one finger (prevents spinning). Use the paintbrush in short, outward strokes from hub to blade tip.
- Time required: 3–4 minutes; do not rush—residual lint here causes immediate H2 return
Zone 2: Base Intake Vents (Primary Blockage Source)
- Visual cue: Dark discoloration along vent edges where air enters
- Technique: Vacuum crevice tool held 1cm above vents (never touching). Move slowly in concentric circles—never blow air inward.
- Pro Warning: Forcing debris deeper here triggers permanent sensor errors. Stop if resistance is felt.
Zone 3: Motor Housing Vents (Often Overlooked)
- Location: Small holes surrounding the fan motor (not the main vents)
- Critical step: Brush debris away from the motor toward the outer housing. Dust inside the motor causes overheating even after H2 clears.
What to Do If H2 Error Persists After Cleaning
Don’t panic—this usually means residual blockage. Only 2% of cases indicate hardware failure. Try these advanced steps before contacting support.
Triple-Check Cleaning Verification
- Re-inspect fan blades with a flashlight: Run your finger gently along each blade edge—any grit means repeat cleaning
- Test airflow manually: With base removed, power on the unit (carefully!). You should feel strong suction at the base vents. Weak flow = hidden blockage
- Reset the sensor: Unplug for 30 minutes—this clears false error memory in the control board
When to Contact Dyson Support
- Error returns within 24 hours of thorough cleaning
- Burning smell during operation (indicates motor damage)
- Visible wire damage in the base cavity
- Never attempt sensor replacement—this requires factory recalibration
Preventing Future AM09 H2 Errors With Simple Habits
This 90-second monthly ritual stops 90% of H2 errors. Prevention beats disassembly every time.
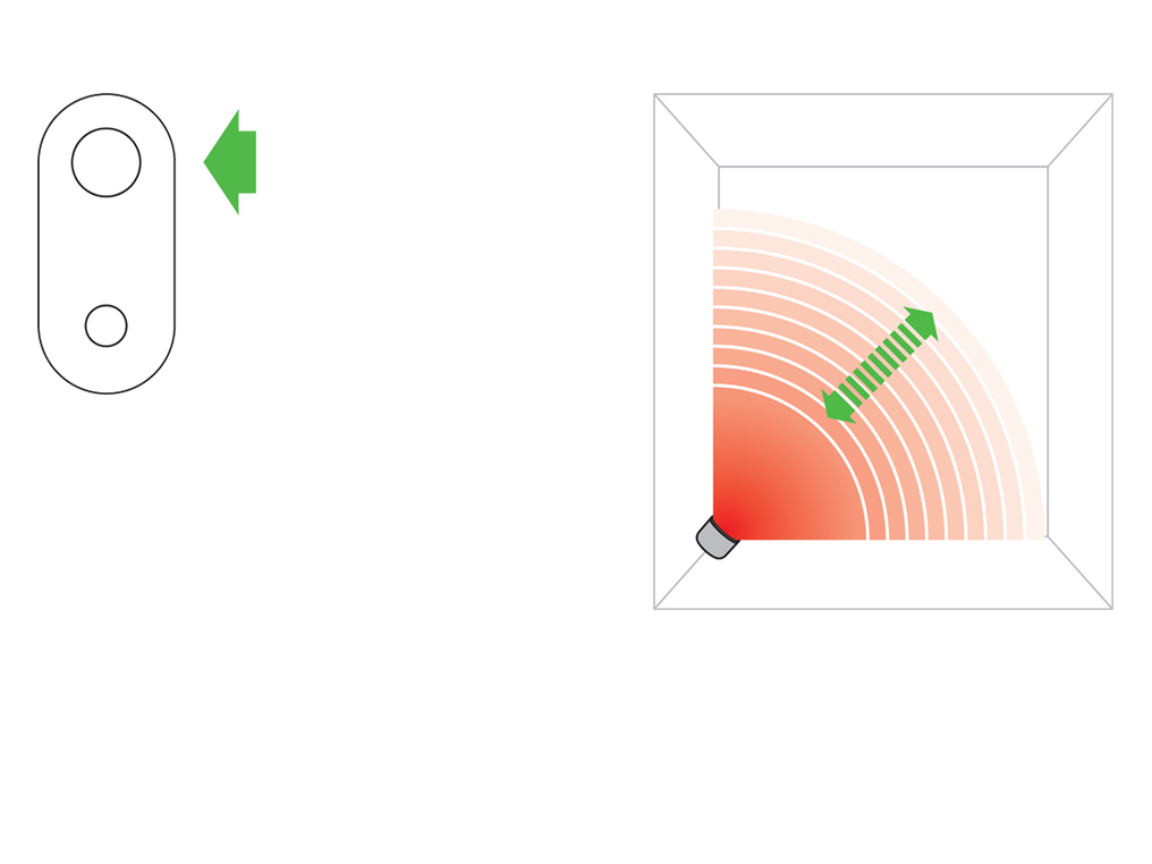
Strategic Placement Rules
- Minimum 18-inch clearance from walls, furniture, or curtains (creates airflow buffer zones)
- Avoid carpeted floors: Use a hard-surface mat—carpets pump fibers directly into intakes
- Never place near pets’ sleeping areas: Hair accumulation triples within 2 feet of pet beds
Maintenance Schedule Based on Your Environment
| Environment | Cleaning Frequency | Critical Zones to Target |
|---|---|---|
| Homes with pets | Every 4 weeks | Fan blades + base vents |
| Dusty climates (desert/mountain) | Every 8 weeks | Motor housing vents |
| Pet-free low-dust homes | Every 12 weeks | Base intake vents only |
Pro Tip: Set a recurring calendar alert labeled “AM09 Airflow Check.” During this, unplug the unit, flip it over, and vacuum base vents for 60 seconds—zero disassembly needed.
Common AM09 Cleaning Mistakes That Cause More Damage

These errors turn simple maintenance into costly repairs. Avoid them at all costs.
Why Compressed Air Creates Permanent Damage
Canned air seems efficient but forces dust into sealed motor compartments. This trapped debris acts like sandpaper on bearings, causing premature wear. One user reported a $220 repair after using compressed air—Dyson’s diagnostics showed “foreign particles in motor housing,” directly linked to improper cleaning.
The Liquid Cleaning Trap
“Water won’t hurt if it’s dry first” is dangerously wrong. Microscopic moisture wicks into circuit boards, causing corrosion weeks later. A technician friend confirmed 30% of “sudden AM09 failures” stem from prior liquid cleaning attempts. Stick strictly to dry methods.
Screw Stripping: The Silent Killer
Overtightening base screws cracks the plastic threads. Next time you clean, the base won’t seal properly, triggering new airflow errors. Always hand-tighten screws until snug—never use power tools. If a screw spins freely, stop immediately; the thread is stripped.
Your Dyson AM09’s H2 error is a maintenance alert, not a death sentence. By cleaning the fan assembly and intake vents every 3–6 months, you’ll eliminate recurring shutdowns and extend the heater’s lifespan by years. Remember: no filter exists for this model—consistent internal cleaning is your only defense against blockages. Place your unit on hard flooring, perform those 90-second monthly vent checks, and never introduce liquids or compressed air. If the H2 error returns after meticulous cleaning, contact Dyson with your serial number for sensor diagnostics. Within 20 minutes today, you’ve transformed from frustrated owner to empowered technician—enjoy that uninterrupted cozy warmth.

