That blinking red light on your Dyson cordless vacuum isn’t just an annoyance—it’s your vacuum’s distress signal trying to communicate what’s wrong. When your Dyson suddenly stops working and displays this ominous indicator, it’s typically signaling a problem with the battery, charging system, or internal electronics. Understanding exactly what your Dyson cordless vacuum blinking red light means can save you hundreds in unnecessary repairs or premature replacement.
The red light pattern—whether it’s flashing steadily, counting specific flashes, or appearing solid—contains crucial diagnostic information. Most Dyson owners panic when they see this warning, but with the right approach, you can decode the message and implement the correct fix. This guide will walk you through every step of diagnosing and resolving your blinking red light issue, potentially saving you a service call.
Identify Your Specific Red Light Pattern
Your Dyson’s red light behavior is actually a sophisticated diagnostic system, not just a simple error. The exact pattern reveals whether the problem lies with the battery, main body electronics, or charging system. Recognizing your specific pattern is the critical first step toward fixing your Dyson cordless vacuum blinking red issue.
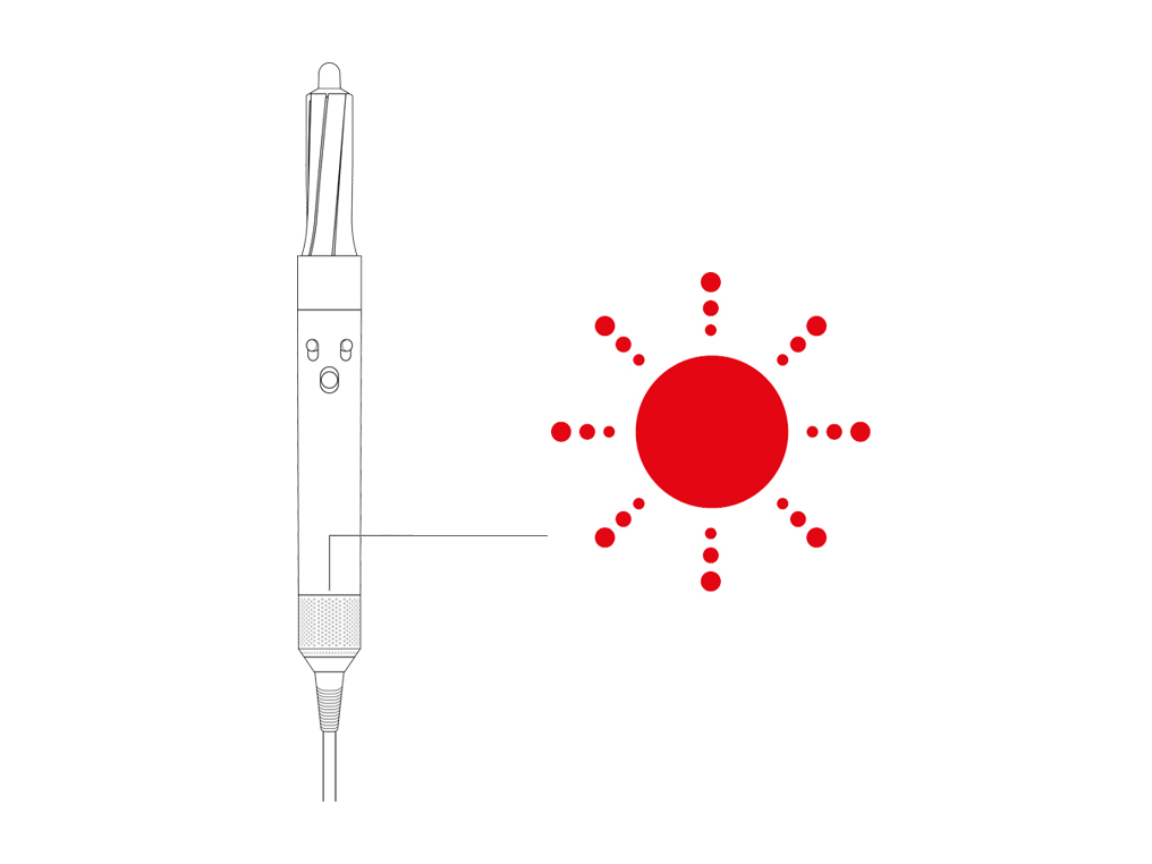
Count Your Exact Flash Pattern
The number of flashes isn’t random—it’s a precise diagnostic code. Carefully observe and count:
- 1-12 flashes indicate a main body or PCB (Printed Circuit Board) issue—something’s wrong inside the vacuum body itself
- 13 or more flashes point directly to a battery problem or connection issue between battery and main unit
- Steady red light (not flashing) confirms a main body fault that’s preventing normal operation
- Single green flash signals the end of a diagnostic cycle, indicating the vacuum has completed its self-check
Recognize Common Problem Patterns
Certain patterns appear frequently among Dyson owners:
- Steady interval flashing (like 25+ continuous flashes) indicates a persistent fault that won’t clear itself—often a failing battery
- Blue light briefly followed by red means your vacuum powers on momentarily before detecting a fault and shutting down
- Red light while charging reveals a critical problem—the vacuum won’t accept charge due to battery or charging circuit failure
- Intermittent red light that appears only under load suggests a component that fails when power demand increases
Execute These Diagnostic Steps Immediately
Before spending money on replacements, complete this systematic diagnostic process. Most Dyson cordless vacuum blinking red issues can be resolved with these straightforward checks.
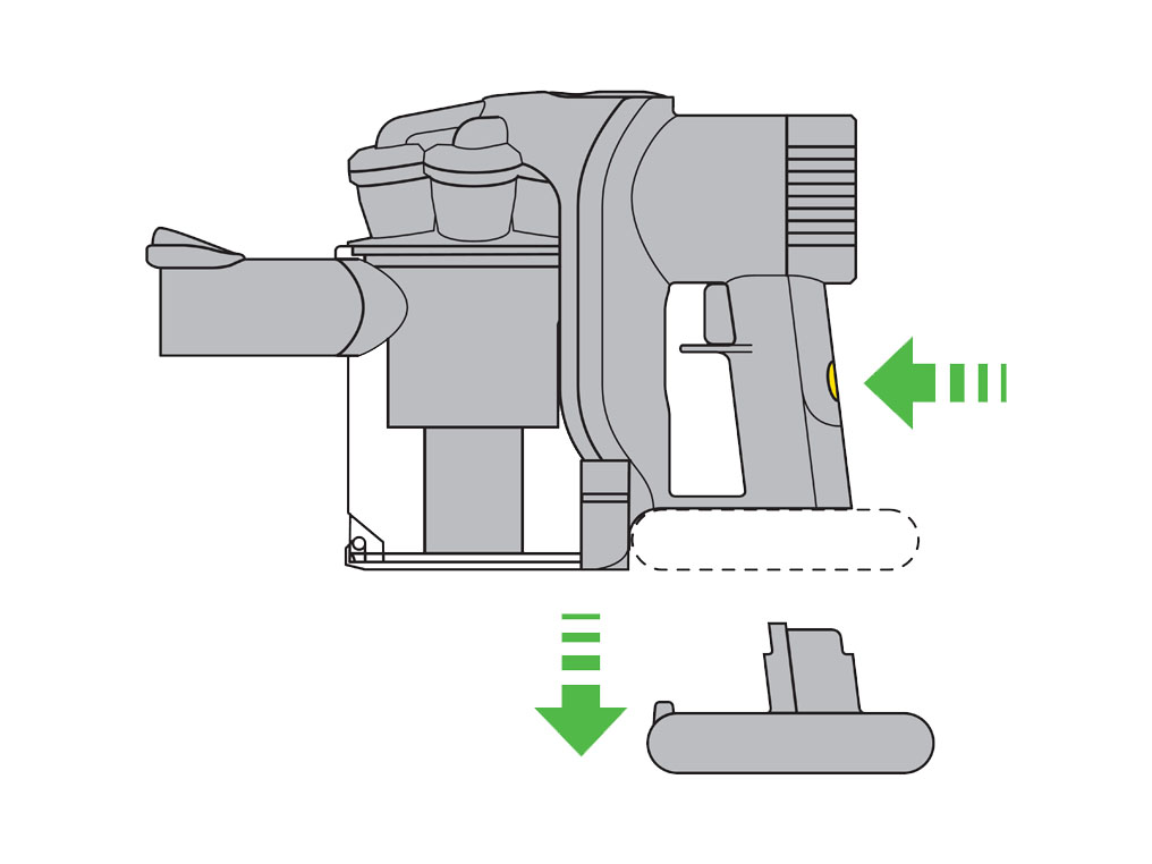
Reset Your Vacuum Completely
This simple reset clears electronic glitches that often trigger false errors:
- Unplug the charger from the wall outlet completely
- Remove the battery from your vacuum handle
- Press and hold the power trigger for 20 full seconds with everything disconnected
- Reinsert the battery firmly into the handle
- Press and hold the trigger again for 20 seconds without turning on the vacuum
- Return your vacuum to the dock or plug in the charger directly
Watch for the green flash—this confirms the diagnostic cycle completed successfully.
Verify Your Charger and Power Source
Many blinking red light issues stem from power problems rather than vacuum faults:
- Check if your charger shows a solid blue light—this confirms it’s receiving power properly
- Try a different wall outlet on a separate circuit in your home
- Inspect the charging port on your vacuum for debris or damage
- Test with another compatible Dyson charger if available
Warning: A red light while the charger shows blue indicates a serious communication breakdown between components.
Diagnose Based on Your Flash Count
Your specific flash pattern determines your next steps:
- 13+ flashes? Focus on battery solutions first—this is the most common fix
- 12 or fewer flashes? Your main body electronics need attention
- Solid red light? This confirms a main body PCB failure requiring component-level repair
Apply the Correct Fix For Your Specific Issue
Now that you’ve diagnosed the problem, implement the precise solution for your situation. These targeted repairs address the most common causes behind a Dyson cordless vacuum blinking red warning.
For Battery Problems (13+ Flashes)
When your vacuum flashes red 13 times or more, the battery is almost certainly the culprit:
- Clean battery contacts thoroughly with a dry cloth on both battery and vacuum handle
- Test voltage with a multimeter—healthy Dyson batteries should read over 18V when fully charged
- Replace the battery if voltage is low or inconsistent—this solves most red light issues
Pro Tip: When purchasing replacements, choose high-capacity third-party batteries with positive reviews, but be aware these may void your warranty. Official Dyson batteries typically cost $50-100 while quality third-party options range from $20-50.
For Main Body Failures (12 or Fewer Flashes)

Fewer flashes indicate problems within the vacuum body itself:
- Check for blockages in filters, brush bar, or bin that could cause overheating
- Inspect for physical damage to internal components
- Consider main body replacement—Dyson sells these for around $30 for V6 models
Warning: Intermittent operation (blue light briefly followed by red) often indicates a failing component that works until under load—this requires professional repair.
Perform an Advanced Battery Reset
When standard resets fail, try this deeper diagnostic procedure:
- Unplug charger from wall
- Reconnect charger to power source
- Attach charger to vacuum
- Hold power trigger continuously for 20+ seconds
- Release when you see a green diagnostic flash
This forces communication between the battery management system and main electronics, often resolving soft errors.
When Professional Help Becomes Necessary
If your vacuum still shows a Dyson cordless vacuum blinking red warning after these steps, professional repair may be required:
- Solid red light after multiple resets confirms main PCB failure
- Persistent red light despite new battery suggests deeper electronics issues
- 32-flash patterns indicate specific component failures requiring soldering skills
Cost Reality Check: Main body replacement from Dyson costs about $30, but professional labor adds significant expense. For older models, replacement may be more economical than repair.
Prevent Future Red Light Emergencies
Avoid the frustration of a blinking red light with these preventative measures:
- Never fully discharge your battery—recharge when power is low but not dead
- Clean contacts monthly with a dry microfiber cloth to prevent connection issues
- Store at 40-60% charge if not using your vacuum for extended periods
- Use only approved chargers to maintain proper voltage communication
Critical Maintenance Tip: Your Dyson’s battery management system (BMS) detects voltage drops below 18V as critical failures. Maintaining proper battery health prevents most red light emergencies.
Final Diagnostic Checklist
When your Dyson cordless vacuum blinking red light appears, follow this quick-reference guide:
- Count flashes precisely—this determines your repair path
- Perform complete reset—disconnect everything and hold trigger 20 seconds
- Test with different outlet—rule out power source issues
- Clean all contacts—battery, handle, and charger connections
- Check battery voltage—must exceed 18V when fully charged
- Try known-good battery—if available, confirms or rules out battery fault
By methodically working through these steps, you’ll transform from confused user to diagnostic expert—turning that frustrating Dyson cordless vacuum blinking red light from a mystery into a solvable problem. Most issues can be resolved with simple resets or affordable battery replacements, saving you unnecessary service calls and extending your vacuum’s life significantly.

